
Picture this: You’re in the middle of a complex PCB repair, switching between delicate SMD components and heavy ground planes, when you realize you’ve been manually adjusting your soldering iron temperature dozens of times. What if I told you that 90% of your soldering tasks could be handled with just three perfectly calibrated temperature presets? 🎯
After years of working with electronics engineers and observing countless soldering workflows, I’ve discovered that the most efficient professionals don’t memorize dozens of temperature settings—they master three strategic presets that cover the vast majority of their work. This approach not only saves precious time but also reduces the mental overhead of constantly calculating optimal temperatures for different scenarios.
Key Takeaways
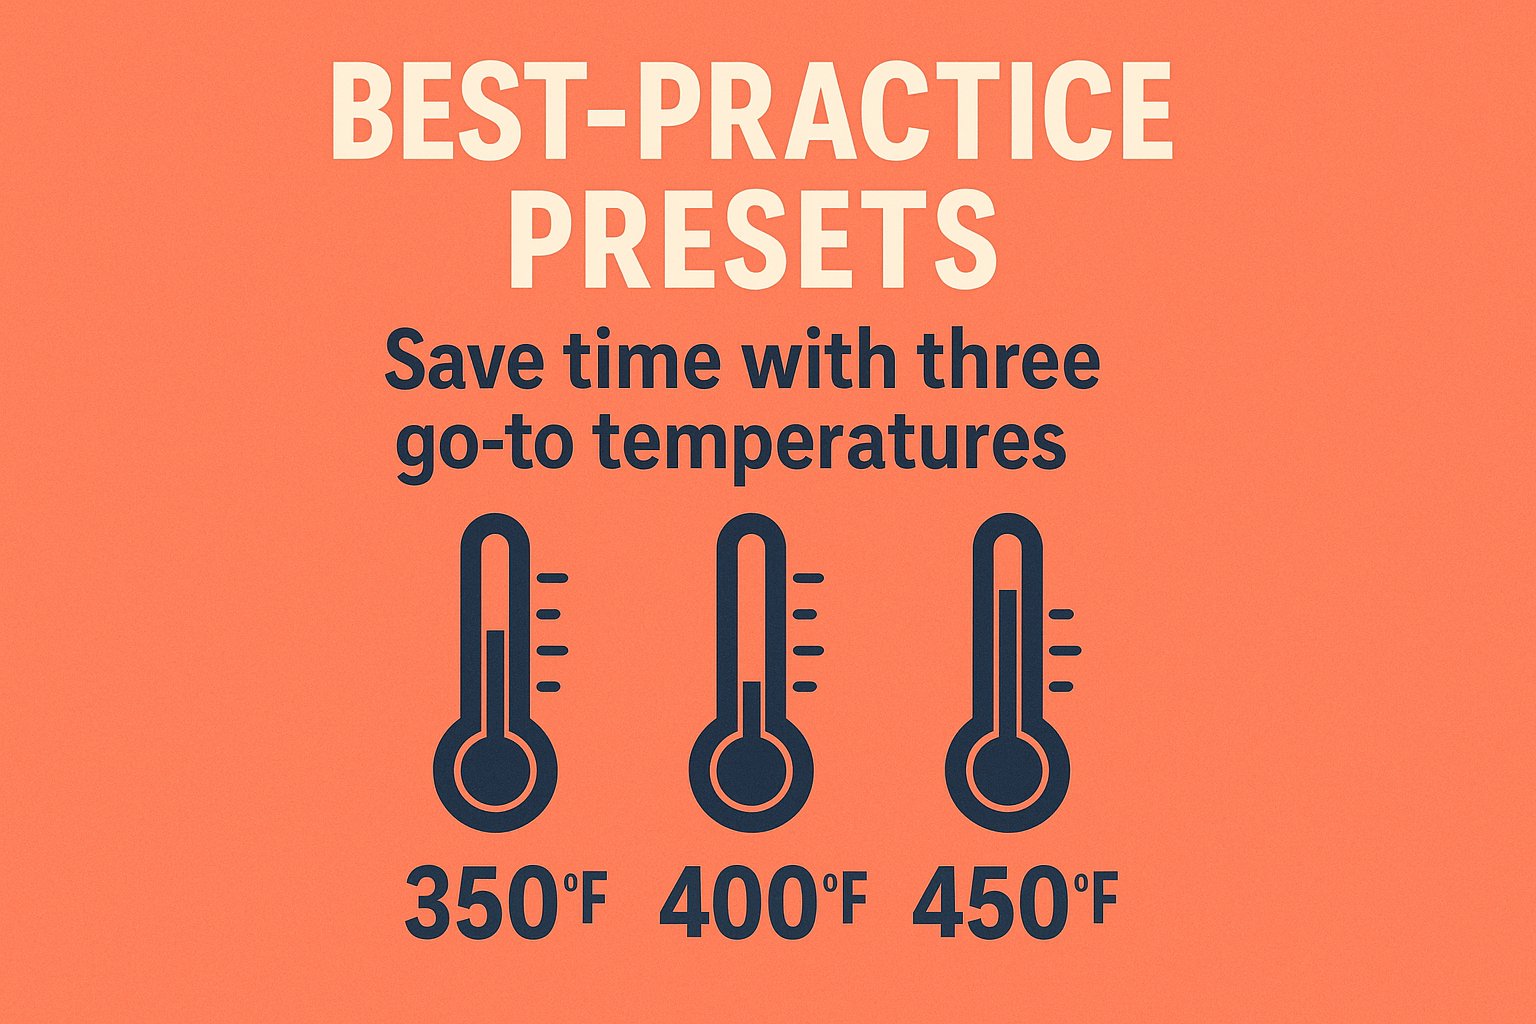
• Three temperature presets (300°C, 350°C, 400°C) cover 90% of common soldering tasks from delicate SMD work to heavy ground plane connections
• Preset-based workflows reduce setup time by 60-80% compared to manual temperature adjustments for each component
• Temperature consistency through presets improves joint quality and reduces thermal stress on sensitive components
• Modern soldering stations with memory functions make implementing preset strategies effortless and repeatable
• Different solder types require specific preset adjustments but the three-tier approach remains universally applicable
Understanding the Science Behind Temperature Presets
Before diving into specific temperature recommendations, it’s crucial to understand why preset temperatures work so effectively. Temperature control matters significantly for achieving consistent, high-quality solder joints while protecting sensitive components.
The key principle behind effective temperature presets lies in thermal mass matching. Different components and PCB areas require different amounts of heat energy to reach optimal soldering temperatures. Rather than constantly calculating these requirements, strategic presets provide reliable starting points that work across broad categories of components.
The Thermal Mass Spectrum
Modern electronics present us with a wide spectrum of thermal challenges:
- Low thermal mass: Small SMD resistors, capacitors, and fine-pitch ICs
- Medium thermal mass: Standard through-hole components, medium-sized connectors
- High thermal mass: Large connectors, ground planes, heat sinks, and power components
Each category benefits from a different approach to heat delivery, which is where our three-preset system becomes invaluable.
The Three Essential Temperature Presets
Preset 1: Low Temperature (300°C) – The Precision Setting
Best for: SMD components, fine-pitch ICs, heat-sensitive parts, and delicate repair work
The 300°C preset serves as your precision tool for the most delicate soldering tasks. This temperature provides sufficient heat for most lead-free solders while minimizing the risk of thermal damage to sensitive components.
Typical applications include:
- 0402 and 0603 SMD resistors and capacitors
- Fine-pitch QFP and BGA rework
- Temperature-sensitive sensors and crystals
- Flexible PCB connections
- Prototype wire connections
At this temperature, you’ll need to be patient and allow proper heat transfer time. The lower temperature compensates for reduced thermal stress with slightly longer dwell times, but the trade-off is worth it for component safety.
Preset 2: Medium Temperature (350°C) – The Workhorse Setting
Best for: Standard through-hole components, medium SMD packages, and general-purpose soldering
The 350°C preset represents the sweet spot for most everyday soldering tasks. This temperature provides excellent heat transfer for standard components while maintaining good control over the soldering process.
Typical applications include:
- Standard through-hole resistors, capacitors, and ICs
- SOIC and TSSOP packages
- Pin headers and standard connectors
- Wire-to-board connections
- General prototyping work
This preset offers the best balance between heating efficiency and component safety. Most engineers find themselves using this setting for approximately 60-70% of their soldering tasks.
Preset 3: High Temperature (400°C) – The Power Setting
Best for: Large connectors, ground plane connections, heat sinks, and high thermal mass components
The 400°C preset provides the thermal power needed for challenging connections that would be impossible or frustratingly slow at lower temperatures.
Typical applications include:
- Large power connectors and terminals
- Components connected to ground planes
- Heat sink attachments
- Thick wire connections (12 AWG and larger)
- Desoldering stubborn joints
When working at this temperature, speed becomes crucial. The higher heat means shorter contact times to prevent damage to surrounding components or PCB substrates.
Implementing Preset Workflows in Practice
Setting Up Your Station
Modern soldering stations make implementing preset workflows straightforward. Different personas benefit from different approaches to organizing their presets, but the three-temperature system works universally.
Programming your presets:
- Preset A: 300°C for precision work
- Preset B: 350°C for general tasks
- Preset C: 400°C for power applications
Most quality stations allow you to switch between presets with a single button press, making transitions seamless during complex projects.
Workflow Integration
The real efficiency gains come from integrating presets into your standard workflows:
Project Planning Phase:
- Review your component list and categorize by thermal requirements
- Plan your soldering sequence to minimize preset changes
- Group similar thermal mass components together
Execution Phase:
- Start with low-temperature components (Preset 1)
- Progress to medium-temperature tasks (Preset 2)
- Finish with high-temperature connections (Preset 3)
This approach minimizes the number of temperature changes while ensuring components are protected from unnecessary thermal stress.
Adapting Presets for Different Solder Types
Lead-Free vs. Leaded Considerations
The type of solder you’re using significantly impacts your preset strategy. Lead-free versus leaded solders require different temperature approaches, but the three-preset system adapts beautifully to both.
For Lead-Free Solder (SAC305):
- Preset 1: 300°C (minimum for reliable joints)
- Preset 2: 350°C (optimal for most work)
- Preset 3: 400°C (for challenging connections)
For Leaded Solder (60/40):
- Preset 1: 280°C (gentle precision work)
- Preset 2: 320°C (general purpose)
- Preset 3: 370°C (high thermal mass)
Flux Considerations
Different flux types also influence optimal temperatures:
- No-clean flux: Works well across all preset ranges
- Water-soluble flux: May require 10-20°C higher temperatures
- Rosin flux: Performs optimally in the 320-380°C range
Advanced Preset Strategies
Dynamic Preset Adjustment
Experienced users often develop dynamic preset strategies that account for environmental factors:
Ambient Temperature Compensation:
- Cold workshop (below 15°C): Add 10-15°C to all presets
- Hot environment (above 30°C): Reduce presets by 5-10°C
- High humidity: Increase presets by 5-10°C for flux activation
Component-Specific Modifications
While the three-preset system covers most scenarios, certain specialized components may require temporary adjustments:
Heat-Sensitive Components:
- Crystal oscillators: Reduce Preset 1 to 280°C
- Plastic connectors: Use Preset 1 with minimal dwell time
- Electrolytic capacitors: Preset 1 with quick, decisive movements
Thermally Challenging Components:
- Large inductors: May require 420°C for ground plane connections
- Military-grade connectors: Often need sustained 400°C+ temperatures
Maximizing Efficiency with Preset Workflows
Time Savings Analysis
Implementing a three-preset system typically yields significant time savings:
| Task Type | Manual Adjustment Time | Preset Switch Time | Time Saved |
|———–|———————-|——————-|————|
| Component change | 15-30 seconds | 2-3 seconds | 80-90% |
| Project setup | 2-5 minutes | 30 seconds | 75-85% |
| Mid-project adjustments | 45-60 seconds | 3-5 seconds | 90-95% |
Cognitive Load Reduction
Beyond time savings, presets reduce the mental overhead of temperature management. Instead of calculating optimal temperatures for each component, you develop intuitive associations:
- Small, delicate = Preset 1
- Standard components = Preset 2
- Large, challenging = Preset 3
This simplification allows you to focus on the actual soldering technique rather than temperature management.
Safety Considerations with Temperature Presets
ESD Protection
When working with preset temperatures, ESD safety remains crucial. Higher temperatures can increase static discharge risks, making proper grounding even more important.
Thermal Safety
Personal Safety:
- Always use appropriate tip shapes for different tasks
- Maintain proper ergonomic practices during extended sessions
- Ensure adequate ventilation, especially at higher temperatures
Component Safety:
- Verify component temperature ratings before selecting presets
- Use thermal barriers when working near sensitive components
- Monitor dwell times carefully at higher preset temperatures
Station Maintenance
Preset workflows can actually extend equipment life through consistent temperature cycling. Auto-sleep and auto-shutoff features work particularly well with preset systems, as they can be programmed to activate between preset changes.
Troubleshooting Common Preset Issues
Insufficient Heat Transfer
Symptoms: Slow heating, poor solder flow, cold joints
Solutions:
- Verify tip condition and cleanliness
- Check wattage capabilities of your station
- Consider moving to the next higher preset
- Improve tip-to-joint contact technique
Overheating Components
Symptoms: Discolored PCBs, lifted pads, component damage
Solutions:
- Drop to lower preset immediately
- Reduce dwell time
- Improve heat sinking techniques
- Verify component temperature ratings
Inconsistent Results
Symptoms: Variable joint quality, unpredictable heating
Solutions:
- Calibrate station temperature accuracy
- Replace worn tips
- Clean tip regularly during use
- Verify preset programming
Building Your Personal Preset Library
Documentation Strategy
Successful preset implementation requires good documentation:
Project Documentation:
- Record which presets work best for specific component types
- Note any required adjustments for unusual materials
- Track environmental factors that affect performance
Station Setup Documentation:
- Document your standard preset values
- Record calibration dates and adjustments
- Note tip compatibility with different presets
Continuous Improvement
The three-preset system serves as a foundation, but personal refinement makes it truly powerful:
Weekly Reviews:
- Analyze which presets you used most frequently
- Identify any recurring temperature adjustments
- Consider whether preset values need refinement
Monthly Optimization:
- Review documentation for patterns
- Adjust presets based on accumulated experience
- Update workflows based on new component types
Ready to Optimize Your Soldering Workflow?
The three-preset temperature system represents more than just a time-saving technique—it’s a fundamental shift toward more efficient, consistent soldering practices. By implementing 300°C, 350°C, and 400°C presets, you’ll handle the vast majority of your soldering tasks with confidence and speed.
If you’re ready to experience the efficiency gains of preset-based soldering, consider investing in a quality station that supports programmable temperature memory. Shop XYTRONIC soldering stations that offer advanced preset capabilities, precise temperature control, and the reliability needed for professional work.
The beauty of this system lies in its simplicity and adaptability. Whether you’re a hobbyist working on weekend projects or a professional engineer handling complex assemblies, these three presets will transform your approach to temperature management.
Conclusion
Implementing a three-preset temperature system—300°C for precision work, 350°C for general tasks, and 400°C for challenging connections—represents one of the most impactful efficiency improvements you can make to your soldering workflow. This approach reduces setup time by 60-80%, minimizes cognitive overhead, and improves joint quality through consistent temperature application.
The key to success lies in understanding the thermal requirements of your components and matching them to the appropriate preset. Start by categorizing your most common soldering tasks, program your station with the three recommended presets, and begin building workflows that minimize temperature changes while maximizing component safety.
Remember that these presets serve as a foundation—feel free to adjust them based on your specific solder types, environmental conditions, and component requirements. The goal is to create a system that becomes second nature, allowing you to focus on technique and quality rather than temperature calculations.
Take the time to properly implement this system, document your experiences, and refine your approach. The initial investment in setup and learning will pay dividends in improved efficiency, better results, and reduced frustration throughout your soldering career.
For more insights on optimizing your soldering setup and techniques, explore our comprehensive soldering station blog where we cover everything from basic safety principles to advanced workflow optimization strategies.