
Picture this: You’re deep into a critical repair project when your soldering tip suddenly stops heating properly. Your deadline is approaching, frustration mounts, and you realize you could have prevented this disaster with proper maintenance and timely replacements. As an electronics professional or hobbyist, understanding when and how to replace your soldering equipment components isn’t just about saving money—it’s about maintaining the precision and reliability your work demands.
Key Takeaways
• Soldering tips should be replaced when they show signs of pitting, oxidation, or poor heat transfer, typically every 6-12 months with regular use
• Power cords and cables require immediate replacement if damaged, with preventive replacement every 3-5 years for heavy-use equipment
• Stands and holders need replacement when stability is compromised or when upgrading to better ergonomic designs
• Proactive replacement saves money and prevents project failures compared to reactive repairs
• Quality components from reputable manufacturers offer better longevity and performance than generic alternatives
—
Understanding Replaceable Components in Soldering Equipment
When I first started working with electronics, I treated my soldering station like a permanent fixture—something that would work forever without maintenance. That mindset cost me countless hours of frustration and several ruined projects. The reality is that soldering equipment consists of multiple replaceable components, each with its own lifespan and replacement schedule.
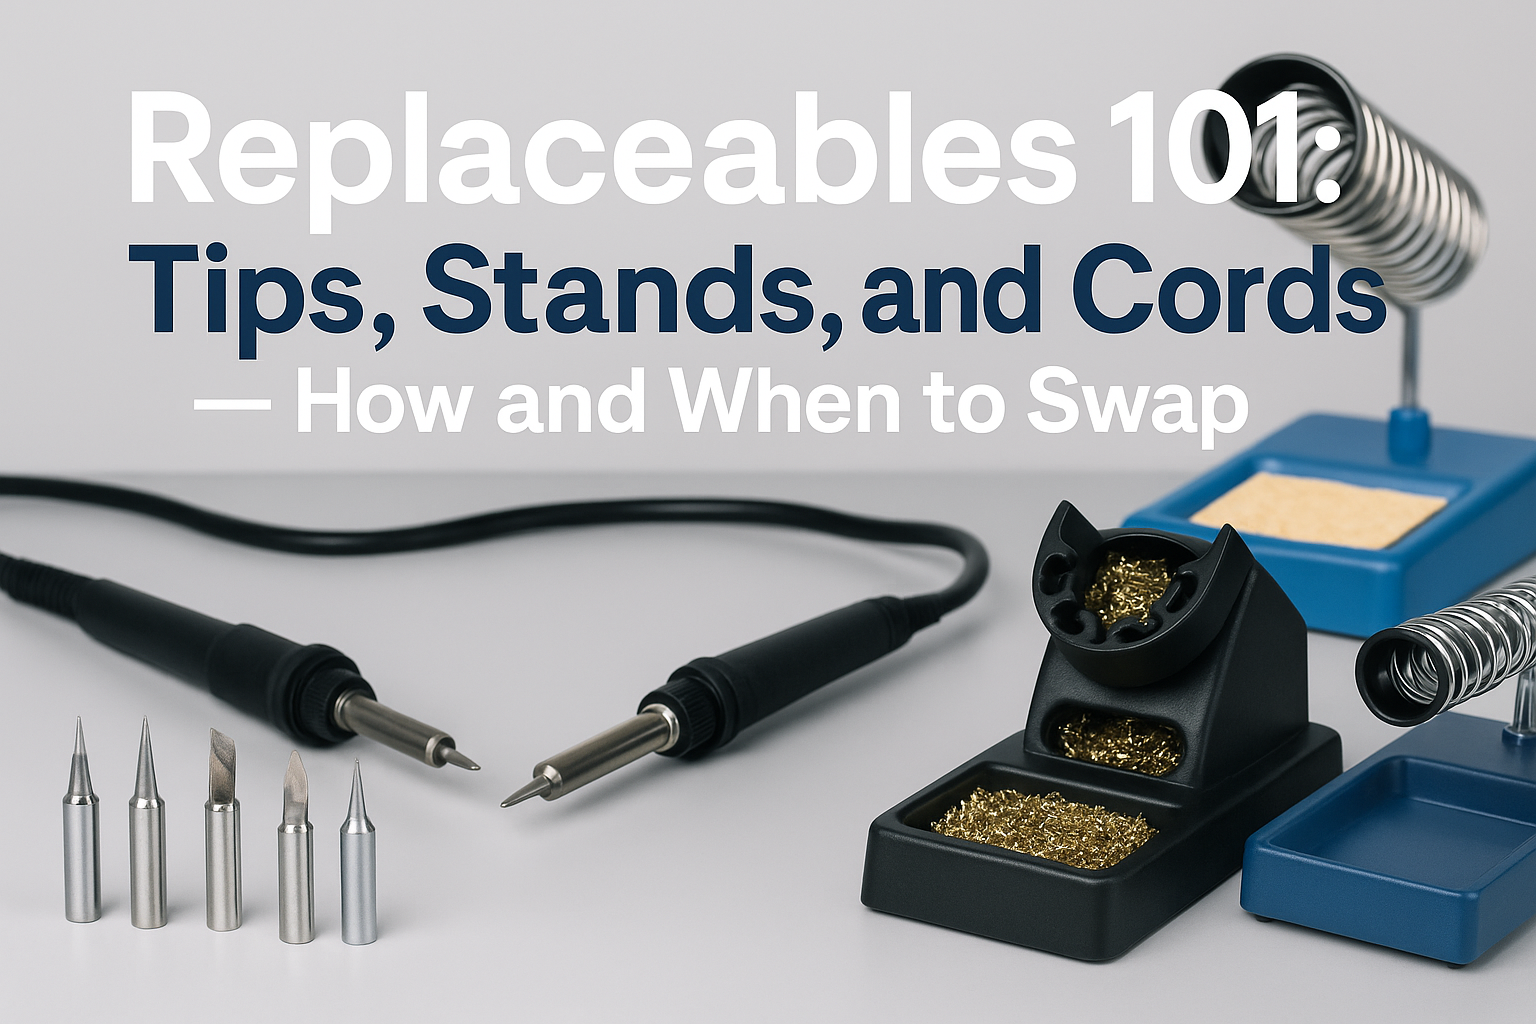
Modern soldering stations are designed with modularity in mind. This approach allows you to maintain peak performance without replacing the entire unit when individual components wear out. The three most critical replaceable components are soldering tips, power cords and cables, and stands or holders.
Understanding these components helps you make informed decisions about maintenance schedules and budget planning. More importantly, it ensures your work maintains consistent quality standards throughout your projects.
The Economics of Replacement vs. Repair
Before diving into specific components, let’s address the fundamental question: when does replacement make more sense than repair? In my experience, the 80/20 rule applies here—if a replacement component costs more than 80% of a new unit’s price, consider upgrading instead.
However, this calculation becomes more nuanced when you factor in downtime costs. For professionals, even a few hours of equipment unavailability can exceed the cost of keeping spare components on hand.
Soldering Tips: The Heart of Your Operation
When to Replace Soldering Tips
Soldering tips are the most frequently replaced components in any soldering setup. They’re also the most critical for maintaining work quality. Here are the clear indicators that it’s time for a replacement:
Visual Indicators:
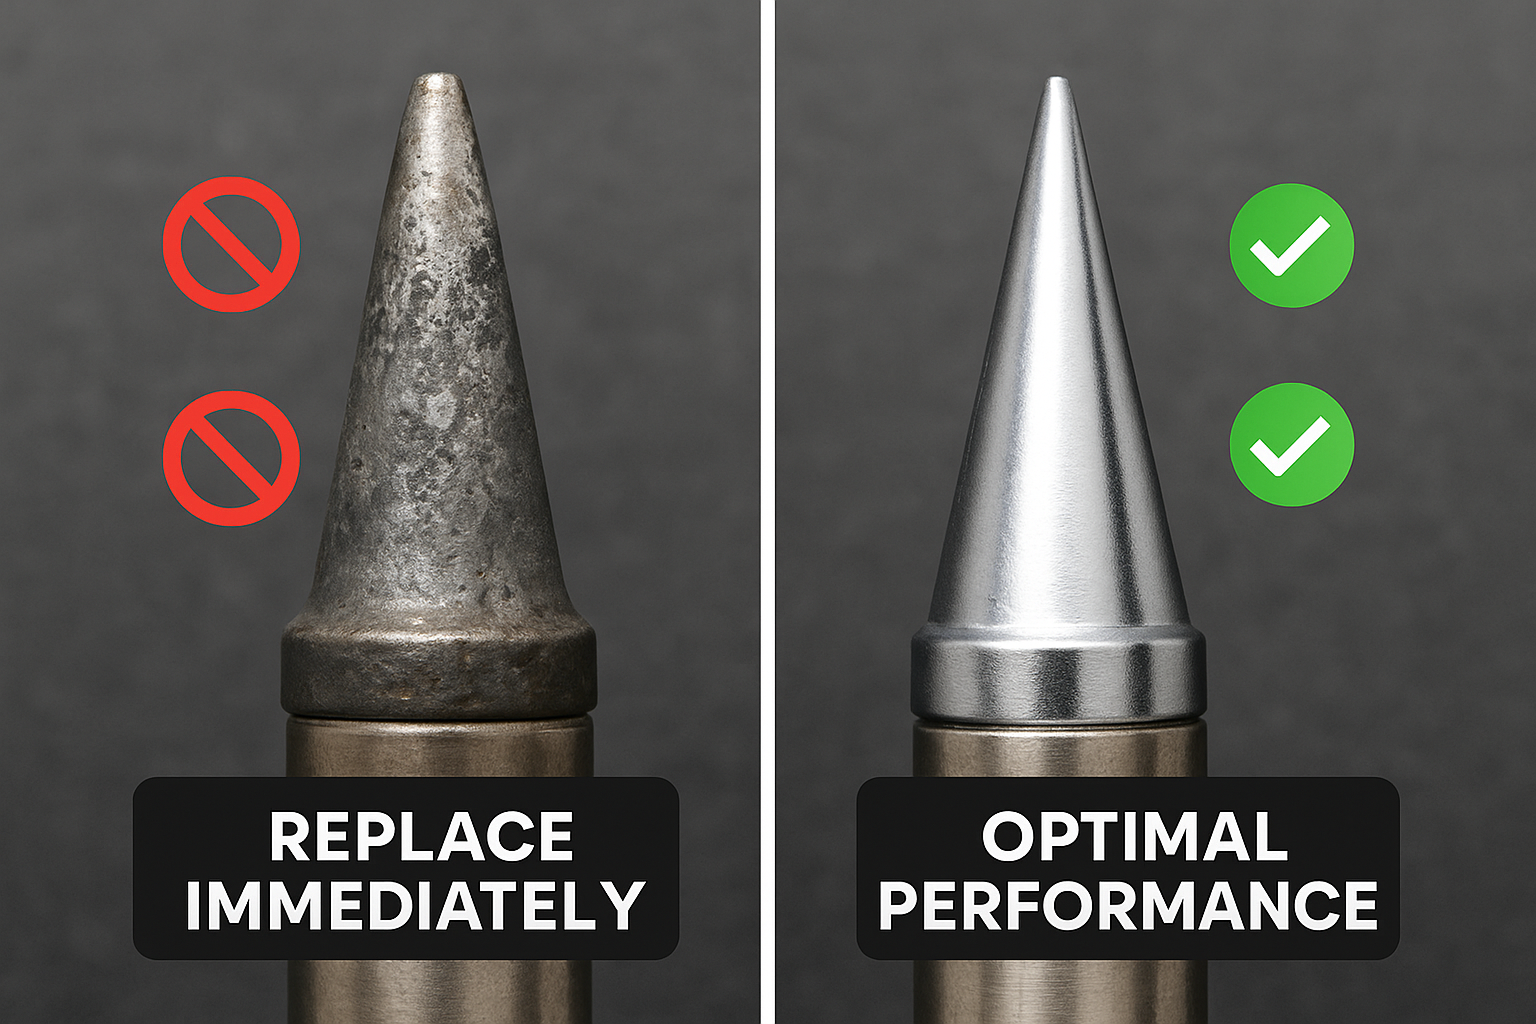
- Pitting or corrosion on the tip surface
- Black oxidation that won’t clean off with normal maintenance
- Shape deformation from excessive filing or wear
- Coating damage where the underlying copper shows through
Performance Indicators:
- Poor heat transfer requiring higher temperatures
- Solder won’t wet the tip properly
- Inconsistent heating across the tip surface
- Longer heat-up times than when new
I’ve learned that proper tip maintenance can extend lifespan significantly, but even well-maintained tips eventually reach their end of life.
Tip Replacement Schedule
For most users, I recommend this replacement schedule:
| Usage Level | Replacement Frequency | Signs to Watch |
|————-|———————-|—————-|
| Daily Professional | 3-6 months | Weekly performance checks |
| Regular Hobbyist | 6-12 months | Monthly visual inspection |
| Occasional Use | 12-24 months | Before major projects |
| Educational/Training | 2-4 months | High turnover, frequent abuse |
The key is establishing a proactive replacement schedule rather than waiting for complete failure. I keep a log of tip installation dates and performance notes to track patterns.
Choosing Replacement Tips
Not all tips are created equal. When selecting replacements, consider these factors:
Compatibility: Ensure the tip matches your station’s specifications. Understanding tip compatibility can help you choose the right options for your specific needs.
Quality vs. Cost: While generic tips cost less initially, they often have shorter lifespans and inconsistent performance. I’ve found that quality tips from reputable manufacturers typically offer better value over time.
Shape and Size: Stock multiple tip shapes for different applications. Having the right tip for each job reduces wear and improves results.
Power Cords and Cables: The Lifelines of Your Equipment
Identifying Cable Problems
Power cords and connection cables are often overlooked until they fail completely. However, early identification of cable issues can prevent equipment damage and safety hazards.
Safety-Critical Indicators (Replace Immediately):
- 🚨 Exposed wiring or damaged insulation
- 🚨 Burn marks or heat damage
- 🚨 Loose connections that spark or arc
- 🚨 Frayed or cracked outer jacket
Performance Indicators:
- Intermittent power or heating issues
- Connection requires wiggling to maintain contact
- Excessive heat at connection points
- Visible wear at stress points
Cable Replacement Best Practices
When replacing cables, I follow these guidelines:
Safety First: Always disconnect power before inspecting or replacing cables. Proper safety procedures should never be compromised for convenience.
Quality Matters: Use cables that meet or exceed the original specifications. Cheap replacements often fail prematurely and may not handle the current requirements safely.
Strain Relief: Pay attention to strain relief at connection points. Proper strain relief significantly extends cable life.
Preventive Cable Maintenance
I’ve learned that preventive maintenance dramatically extends cable life:
- Monthly visual inspections for wear signs
- Proper storage to avoid kinking or crushing
- Gentle handling during use and setup
- Regular cleaning of connection points
For high-use environments, I recommend keeping spare cables on hand. The cost of downtime usually exceeds the cable replacement cost.
Stands and Holders: Supporting Your Work
When Stands Need Replacement
Soldering stands and holders might seem like permanent fixtures, but they require replacement when:
Stability Issues:
- Wobbling or tipping during use
- Loose joints that won’t tighten
- Bent or damaged support arms
- Missing or broken safety features
Ergonomic Concerns:
- Poor positioning causing strain
- Inadequate adjustability for your workspace
- Worn grip surfaces that don’t hold securely
Ergonomic considerations become increasingly important during long work sessions.
Upgrading vs. Replacing
Sometimes “replacement” is actually an upgrade opportunity. Consider upgrading when:
- Your work requirements have changed
- Better ergonomic options are available
- Safety features have improved
- Integration with other tools would benefit your workflow
I’ve found that investing in quality stands pays dividends in comfort and productivity over time.
Creating a Replacement Strategy
Inventory Management
Successful replacement management requires organized inventory tracking:
Essential Spare Parts:
- 2-3 common soldering tips
- 1 spare power cord
- Critical connection cables
- Basic cleaning supplies
Tracking System:
- Installation dates for all components
- Performance notes and observations
- Replacement part numbers and sources
- Cost tracking for budget planning
Budget Planning
I recommend allocating 10-15% of your equipment cost annually for replacement parts and maintenance. This might seem high initially, but it’s far less than the cost of emergency replacements or equipment downtime.
Supplier Relationships
Developing relationships with reliable suppliers ensures quick access to quality replacement parts. I maintain accounts with 2-3 suppliers to ensure availability and competitive pricing.
For professional-grade equipment, consider shopping for quality soldering stations that offer readily available replacement parts and good manufacturer support.
Advanced Replacement Considerations
Environmental Factors
Your working environment significantly impacts replacement schedules:
High-Temperature Environments: Accelerate cable and stand degradation
High-Humidity Areas: Increase oxidation and corrosion rates
Dusty Conditions: Require more frequent cleaning and earlier replacement
Chemical Exposure: May require specialized resistant components
Usage Patterns
Different usage patterns require different replacement strategies:
Production Environments: Need predictable schedules and minimal downtime
R&D Labs: Require flexibility and quick access to various components
Educational Settings: Need durable components that withstand heavy use
Home Workshops: Benefit from cost-effective replacement strategies
Understanding different user workflows helps optimize replacement timing and component selection.
Quality vs. Cost: Making Smart Choices
Evaluating Component Quality
When selecting replacement components, I use these criteria:
Performance Metrics:
- Heat transfer efficiency
- Durability under normal use
- Consistency across multiple units
- Compatibility with existing equipment
Manufacturer Reputation:
- Track record for quality
- Availability of technical support
- Warranty terms and conditions
- User community feedback
Cost-Benefit Analysis
The cheapest option isn’t always the most economical. Consider:
Total Cost of Ownership:
- Initial purchase price
- Expected lifespan
- Performance consistency
- Replacement frequency
Productivity Impact:
- Setup and changeover time
- Performance reliability
- Maintenance requirements
- Downtime for failures
Troubleshooting Before Replacement
Diagnostic Procedures
Before replacing components, systematic troubleshooting can save unnecessary costs:
For Tips:
- Clean thoroughly with appropriate materials
- Check temperature calibration
- Verify proper installation
- Test with known good solder
For Cables:
- Visual inspection under good lighting
- Continuity testing with multimeter
- Insulation resistance testing
- Connection point examination
For Stands:
- Check all adjustment mechanisms
- Inspect for loose hardware
- Verify stability on level surface
- Test all moving parts
Understanding temperature control principles helps distinguish between component failure and system issues.
When Repair Makes Sense
Sometimes repair is more appropriate than replacement:
- Minor adjustments can restore full function
- Replacement parts are expensive or unavailable
- Sentimental value or familiarity with equipment
- Learning opportunity for understanding equipment better
Safety Considerations in Replacement
Electrical Safety
Replacing electrical components requires strict safety protocols:
- Disconnect power before any work
- Verify de-energization with appropriate meters
- Use proper PPE for the work being performed
- Follow lockout/tagout procedures in shared workspaces
ESD safety considerations are particularly important when working with sensitive electronic equipment.
Component Disposal
Proper disposal of replaced components is both environmentally responsible and often legally required:
- Electronic waste should go to certified recyclers
- Hazardous materials require special handling
- Documentation may be required for compliance
- Data security considerations for equipment with memory
Future-Proofing Your Replacement Strategy
Technology Evolution
The electronics industry evolves rapidly. Consider these trends when developing replacement strategies:
Lead-Free Requirements: Ensure compatibility with modern solder formulations
Higher Power Demands: Plan for increasing wattage requirements
Improved Ergonomics: Take advantage of better designs as they become available
Smart Features: Consider connectivity and monitoring capabilities
Standardization Benefits
Where possible, standardizing on common components offers several advantages:
- Reduced inventory requirements
- Bulk purchasing opportunities
- Simplified training for multiple users
- Interchangeability between stations
Building Your Replacement Toolkit
Essential Tools
Maintaining and replacing components requires the right tools:
Basic Kit:
- Quality screwdrivers (multiple sizes)
- Digital multimeter
- Wire strippers and crimpers
- Cleaning materials and solvents
- Safety equipment (glasses, gloves)
Advanced Kit:
- Torque wrenches for critical connections
- Insulation resistance tester
- Thermal imaging camera
- Precision measuring tools
- Component testers
Documentation and Records
Comprehensive documentation makes replacement decisions easier:
- Equipment manuals and specifications
- Replacement part numbers and sources
- Installation procedures and notes
- Performance history and trends
- Cost tracking and budget information
Conclusion
Mastering the art of replaceable component management transforms your electronics work from reactive troubleshooting to proactive optimization. By understanding when and how to replace soldering tips, power cords, and stands, you ensure consistent performance, reduce downtime, and maintain the quality your projects demand.
The key principles I’ve shared—proactive scheduling, quality over cost, systematic troubleshooting, and comprehensive documentation—form the foundation of effective replacement management. Whether you’re a professional engineer managing production equipment or a hobbyist maintaining a home workshop, these strategies will serve you well.
Remember that replacement components are investments in your productivity and work quality. By implementing the practices outlined in this guide, you’ll spend less time dealing with equipment failures and more time focusing on what matters most: creating excellent electronic projects.
Start by auditing your current equipment, establishing replacement schedules, and building relationships with reliable suppliers. Your future self will thank you when that critical project deadline approaches and your equipment performs flawlessly.
For more insights on soldering techniques and equipment management, explore our comprehensive soldering resources to enhance your electronics expertise.